Showing posts with label tutorial. Show all posts

SVG Pie Chart using PHP

By
SVG Pie Chart using PHP

SVG Pie Chart using PHP


SVG, or Scalable Vector Graphics are widely used for dynamic shapes and icons in web applications. They are usually implemented because it is a vector graphic - meaning it can be scaled in any size without losing its quality. Also, charts and other graphical data representation can be easily implemented with SVG because it is very dynamic. You can basically draw any shapes by just providing certain parameters.

A dynamic SVG Pie Chart made using PHP. It accepts 10 names and corresponding values then it will automatically generate a pie chart (with legend). The program uses the path command for SVG.

The key here is you first decide where would be the point of origin. This will involve a little bit of trigonometry. After that, everything will be just like plotting points to a Cartesian coordinate system. Supply the start point and end point for the path, and it will automatically create the shape.

Technically, the code you really need to focus on is:


foreach($_POST['value'] as $value){
 if($value==""||$value==0){
  $x++;
  continue;
 }
 $angle=deg2rad((($value+$prev)/$total)*360);
 $end_point[0]=round(200-((cos($angle))*180),2);
 $end_point[1]=round(200-((sin($angle))*180),2);
 
 if((rad2deg($angle))<180){
  $path=0;
 }
 else{
  $path=1;
 }
 
 //for same start and end points
 if($start_point[0]==$end_point[0]&&$start_point[1]==$end_point[1]){
  $end_point[1]=$end_point[1]+0.001;
  $stroke=0;
 }
 else{
  $stroke=3;
 }
 //breakpoint
 echo "<path d='M200,200 L".$start_point[0].",".$start_point[1]." A180,180 0 ".$path.",1 ".$end_point[0].",".$end_point[1]." z'
   style='fill:#".$color[$x].";stroke:white;stroke-width:".$stroke."; mask:url(#hole) '/>    

 "; 
 $start_point[0]=$end_point[0];
 $start_point[1]=$end_point[1];
 $prev=$prev+$value;
 $x++;
}

First, calculate for the angle of the certain point: $angle=deg2rad((($value+$prev)/$total)*360);

So initially, when you plot the point, you start at the origin, which is (0,0) - the center of the circle.

By Pythagorean Theorem, you can solve for adjacent side, which is from 0 to y axis, by: $end_point[0]=round(200-((cos($angle))*180),2);

And solve for the base, which is from 0 to x: $end_point[1]=round(200-((sin($angle))*180),2);

Now you have the 3 points: the origin, the end_point[0] and end_point[1], that being said, we now have a triangle. This is basically the segment of our pie chart, but we need to draw the hypotenuse in a curve, so it will look like a segment of the circle.

After that, you need to determine if the angle is greater than 180. Why? Because if the angle is greater than 180, we would let the path draw the LONGEST path from end_point[1] to end_point[0]. Else, it should use the shortest path.

Now the path command will draw the path from origin, end_point[0] and end_point[1].

And since we are on a loop, the formula will just repeat for each values in the array.

This pie chart can chart more values easily by just extending the array where the data are saved. You can just add textboxes or more values to the array and it will automatically be interpreted in a chart.

Most of the chart functions now are using SVG because it can be easily implemented even with simple PHP code. You just have to be familiar with the properties and parameters the certain SVG command have.

Download here.

Feel free to ask questions if you are confused or if you want to modify the program.


Cubism Art Tutorial in Photoshop

By

Cubism is an early-century art wherein cubes or polygons are used to portray an image. Applying this kind of art brings nostalgic feel to a photo.

In Photoshop, we can attain this kind of art using Pen Tool and average tracing skills.

Steps to Make a Cubism Art Tutorial in Photoshop


This tutorial will guide you on how to make a Cubism Art in Photoshop

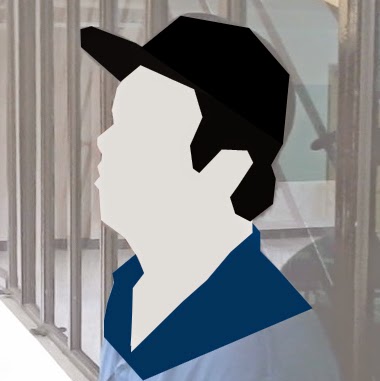
1. Open your base picture in Photoshop and make the image larger (won't matter if it pixelize 'coz the output will be a vector) via Image>Image Size. Set the value of either height or width to 2000px+. Let the other dimension recompute the value so it wouldn't lose its aspect ratio.


2. Trace the base parts. NOTE. DO NOT USE CURVES so that cubism will be portrayed.


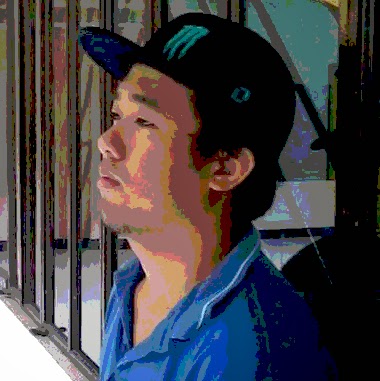
3. Posterize your reference picture via Image>Adjustments>Posterize. Set the value around 4-8 (Values will depend on the quality of the image. The higher, the more color and detail it will show). This will serve a guide to where the depths are, and the details to be shown.


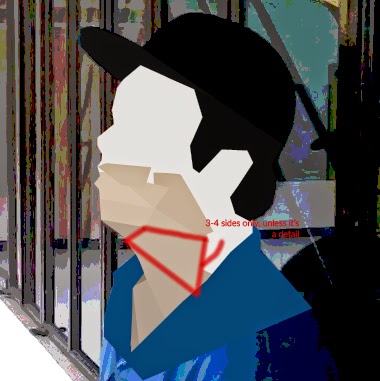
4. Start tracing the detail of the skin. I suggest you start at the bottom or at the edges, where the darker colors are usually present. NOTE. USE ONLY 3-4 SIDES, UNLESS IT IS A DETAIL. Doing such will make it make "cubism"-ic. Use the posterized reference image for the color. (Make separate layers for all the shapes)


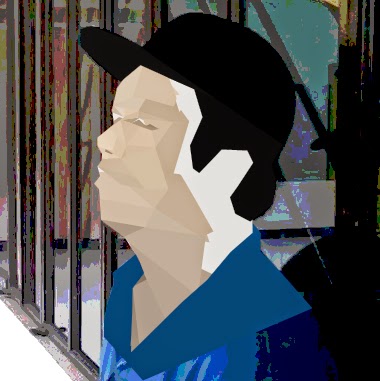
5. Continue tracing. Vary sizes. Use the posterized image as guide.


6. Finish the skin.


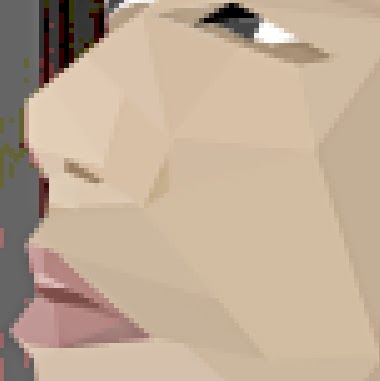
7. Proceed to face's details (eyes, brows, lips). NOTE that you can use multiple shapes for one detail to emphasize its depth.


8. Trace the lips.


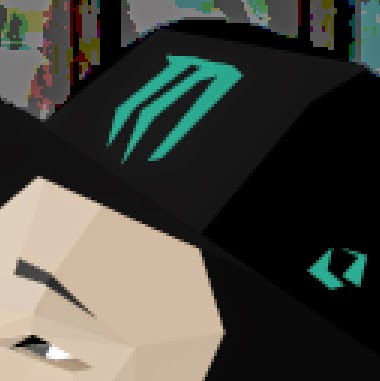
9. You can now add details to the hair, cap and shirt.


10. Shirt's detail.


Add further details to the ears and shirt and you're done! You can also overlay an canvass' texture go give it a nostalgic feel. 

Thanks for reading!

How to Make a Birthday Invitation Card Tutorials

By
This is a tutorial about making an invitation poster for a two-year old kid. So it has to be playful in presentation. Choosing a bright color will most likely suit the event. In my case, I choose yellow because it is a baby girl. To start with, we must have the things the celebrant loved and of course, pics of the celebrant itself. I selected the overlay option to allow the background color to blend with the image on the top.
The celebrant love her dog stuffed toy that she named nana. I made footprints that I colored violet and green. I put it in the left side of the image as to give variation.

I also got the image of nana that has a name of Violet. The toy has its partner named scout. 
 By pressing the "m" button, the marquee tool is activated. I planned to place each toy in each side of the image. In Violet's side right click the mouse and click perspective. This will allow the image to be bent in any direction giving us a vision of the image turning sidewards.
 I also made the same thing for Scout on the left side. Now is the pic of the baby girl in the middle but i opt to have it somewhere in between the middle and the side to have imbalance.
 It is the time for the texts to be placed. The key here is to select the best font possible for this occasion. I then colored it with violet as complement for the background color. Putting a darker shade of violet as the stroke will help enhance the text. 
 I made the words "as" and "turns" pink to add color.

 The space on the top right corner is intended for the infos for the celebration. I wanna put a bubble quote where i can place the infos.
 After putting it altogether, it is now ready for printing. Happy Birthday.


How to Make Volleyball Jersey Tutorial

By

Step in naking a Volleyball Jersey Design in Photoshop


First thing to have is a shirt template. This will be the basis of our design since most volleyball jersey have sleeves and this design is intended for one. The colors will be white, orange and black for the Engineering Team. White is the base color and orange will be the designs while the black is for the trims.
Pen tool is the main weapon will gonna use here. We will make the collar using it. Using it is easy, just add points and drag it while pressing control to make curves. Make sure that the pen tool is in the first mode.
 we must close the path to have a shape. Then select color for the shape. In order to have a hole in the middle of the shape use the minus mode of the pen tool.
 After the color, we'll put some detail in the collar like the dark shade under and the shades on it.
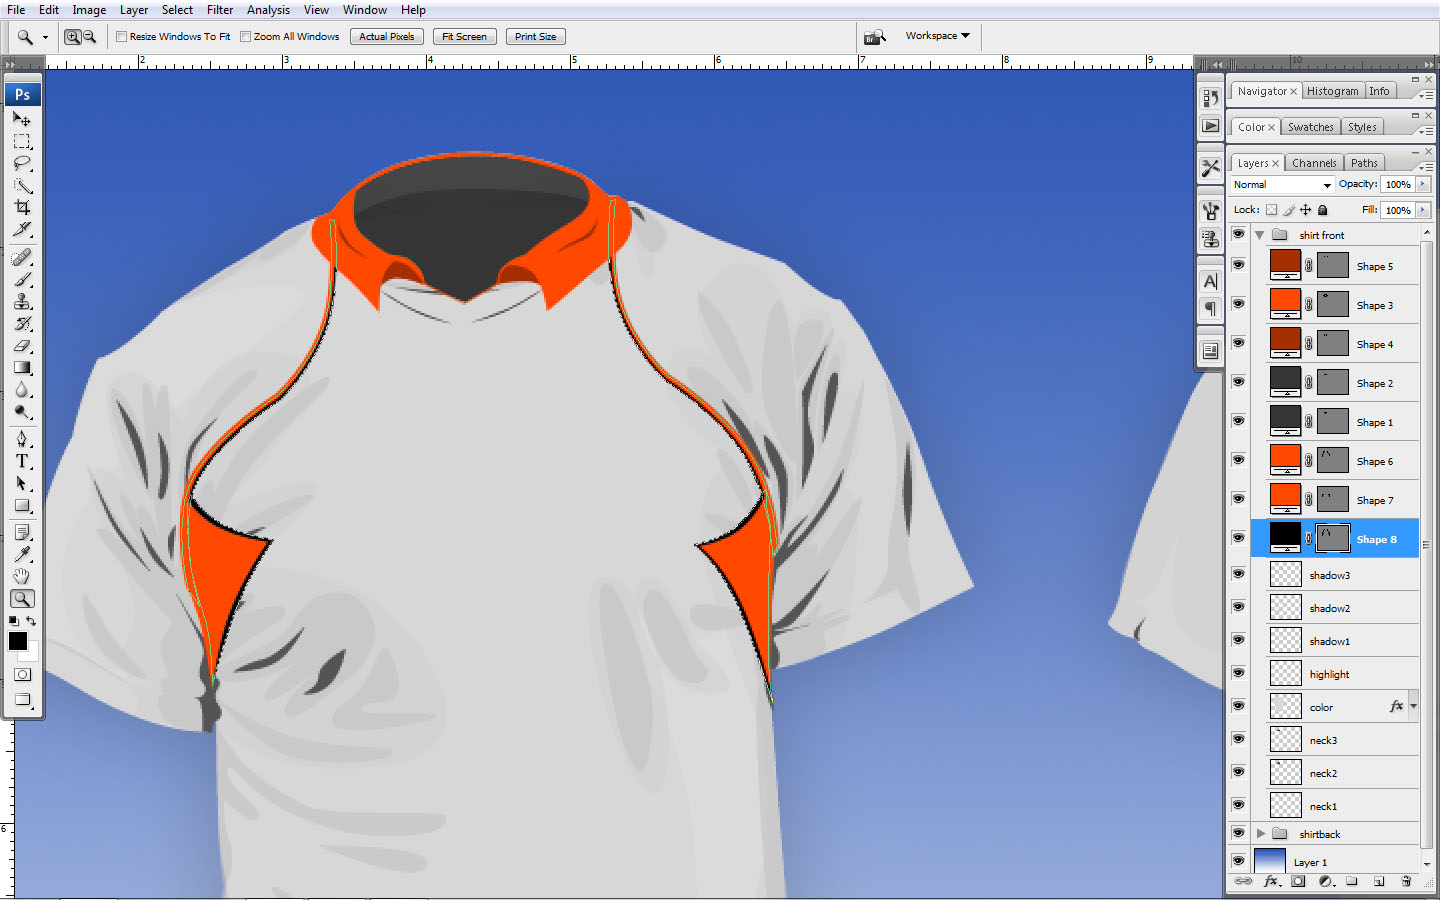
 Now we're done in the collar. Next thing to do is the design on the shirt. We will be putting a curved trim from the collar to the side. Again, pen tool is the best tool to use in these situations.
 After the closing of the shape, color it with orange.
 We will now be doing the second design in the side. It is a curved-sided triangle that will be extending at the back.
 We will just make another design on the other side of the shirt. The ruler is very helpful in attaining a somewhat balanced design.
 Now, we will just copy the design and assign another color like black. The black layer must be placed under the orange to make it the stroke of the design. Just move it few clicks away from the design until the desired width is attained.
 The design at the back is actually the continuation of the front. Well just make a slanted rectangle and add a long thin line up to the lowest part of the shirt.
 Same with the previous design, we will be utilizing the black as the stroke.
 This is the design of the jersey both in front and the back.
  We will be putting added design in the front.
 We'll just trace the shape of the ball and color it blue and yellow to make it the volleyball logo.
 On the other side, we can add some texts and modify it.
Powered by Blogger.