


Cubism is an early-century art wherein cubes or polygons are used to portray an image. Applying this kind of art brings nostalgic feel to a photo.
In Photoshop, we can attain this kind of art using Pen Tool and average tracing skills.
Steps to Make a Cubism Art Tutorial in Photoshop
This tutorial will guide you on how to make a Cubism Art in Photoshop
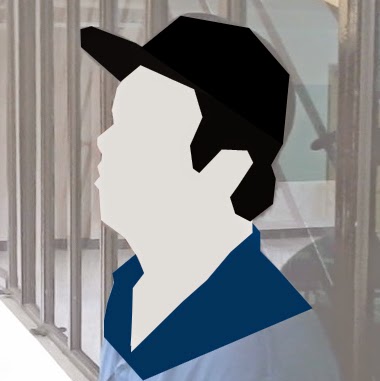 1. Open your base picture in Photoshop and make the image larger (won't matter if it pixelize 'coz the output will be a vector) via Image>Image Size. Set the value of either height or width to 2000px+. Let the other dimension recompute the value so it wouldn't lose its aspect ratio.
2. Trace the base parts. NOTE. DO NOT USE CURVES so that cubism will be portrayed.
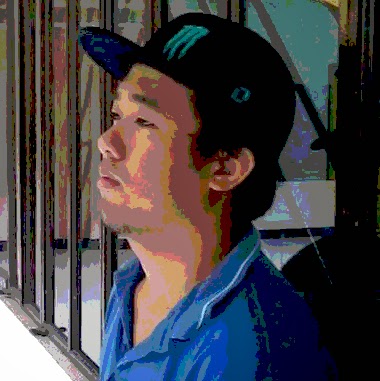 3. Posterize your reference picture via Image>Adjustments>Posterize. Set the value around 4-8 (Values will depend on the quality of the image. The higher, the more color and detail it will show). This will serve a guide to where the depths are, and the details to be shown.
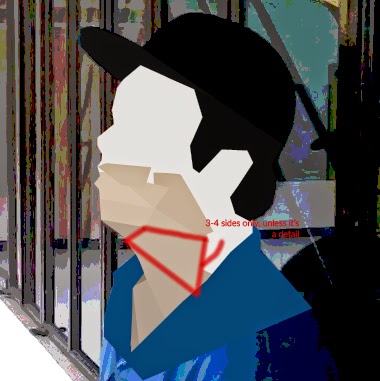 4. Start tracing the detail of the skin. I suggest you start at the bottom or at the edges, where the darker colors are usually present. NOTE. USE ONLY 3-4 SIDES, UNLESS IT IS A DETAIL. Doing such will make it make "cubism"-ic. Use the posterized reference image for the color. (Make separate layers for all the shapes)
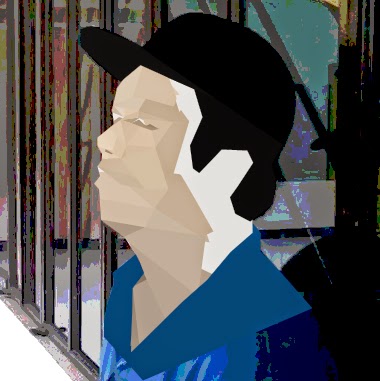 5. Continue tracing. Vary sizes. Use the posterized image as guide.
6. Finish the skin.

7. Proceed to face's details (eyes, brows, lips). NOTE that you can use multiple shapes for one detail to emphasize its depth.
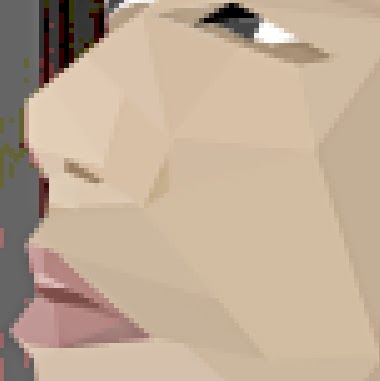
8. Trace the lips.
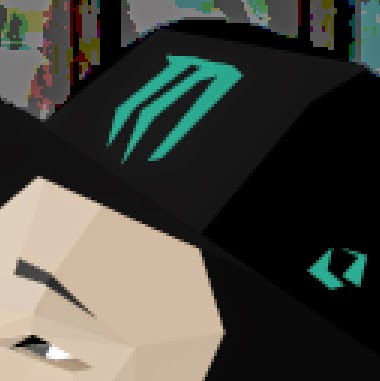
9. You can now add details to the hair, cap and shirt.

10. Shirt's detail.

Add further details to the ears and shirt and you're done! You can also overlay an canvass' texture go give it a nostalgic feel.
Thanks for reading!